


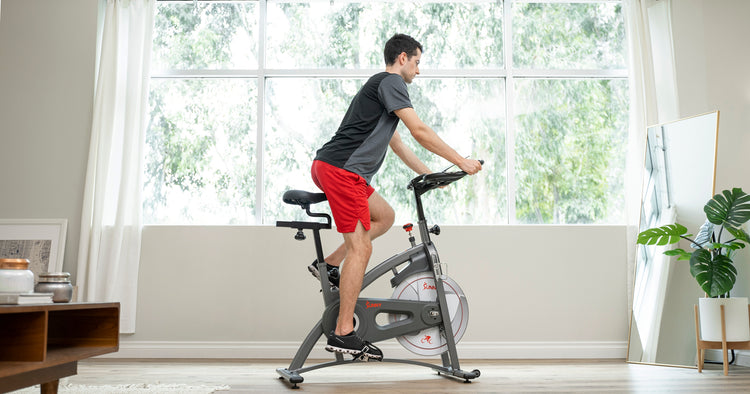
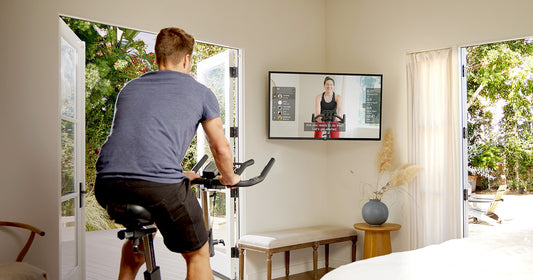
Whether you’re new to cycling or an experienced rider, I think we all can agree climbs are a challenge. They’re a challenge some of us embrace, and others dread. Whether climbs are your favorite part of your ride or not, they’re a skill all cyclists must practice to improve.
As beginner cyclists, it’s easy to compare and assume you’re the only one in the room struggling with climbs. However, just like with any activity, it’s important to remember we all start somewhere.
Wherever you’re starting today, with practice, you can and will get better at climbs. In this article, I’ve put together some of my best advice and top tips for acing your climbs during your indoor cycling workout. So, if you’re ready to rock your climbs, read on; you got this!
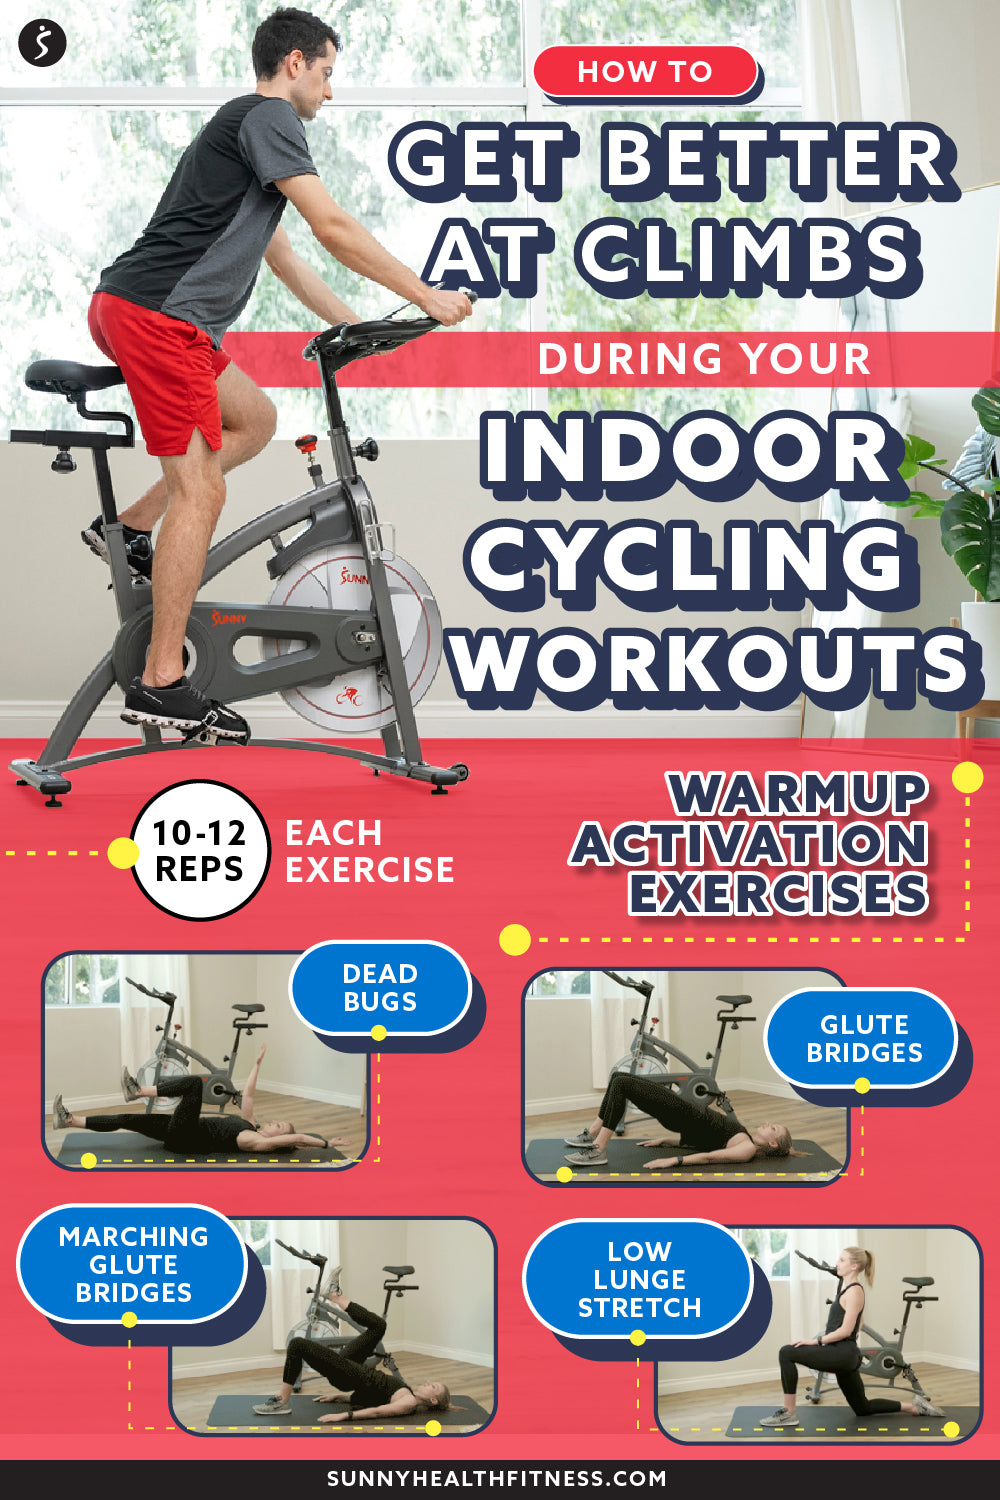
Warmup Activation Exercises to Improve Your Climbs
Just like any workout, all great climbs start with great warmups. As cheesy as that sounds, a proper warmup focuses on activating the muscles we plan to use and rely on throughout our workout.
When climbing, it requires a great deal of core, quad, and glute strength. As cyclists, our quads often tend to be overactive and tight - while core and glutes, although greatly needed, are underactive.
In the warmup below, I’ve included 4 exercises. These exercises, when used in tandem, are designed to wake up the glutes and core, while mobilizing the quads.
Remember, this is a warmup, we’re just trying to wake the muscles up, not overtax them. Simply complete 10-12 reps of each exercise. If it feels good to you, feel free to complete a few more rounds at your leisure before moving your warmup to your bike.
1) Dead Bugs
Dead bugs are an incredible exercise for activating the core. A strong core is so important when climbing on your bike because an engaged core creates a stable base that provides leverage for your legs to generate power.
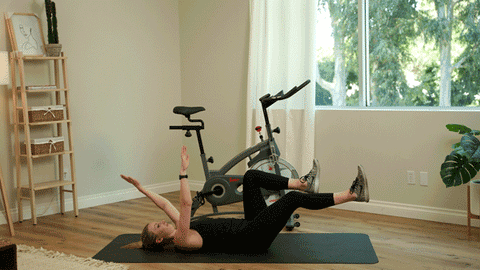
How to: Lay with your spine pressed into the floor, abdominals activated. Bring your feet off the ground, with your knees and hands pointed straight towards the sky. Straighten and lower your right leg towards the ground, while simultaneously lowering your left arm above your head. Return to your starting position and alternate sides. Repeat!
2) Glute Bridges
Glute bridges are a great exercise for waking up the glutes. Pop your toes up to engage your hamstrings as well which assist with you through your climb.
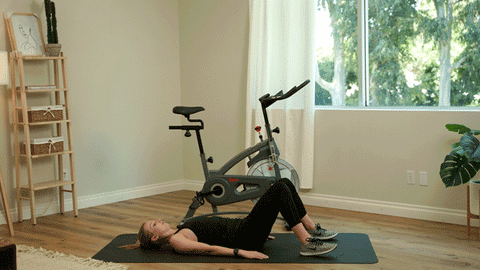
How to: Lay with your spine pressed into the floor, abdominals activated, and legs bent with feet firmly planted into the ground. Feel free to keep your toes planted, or pop them up, supporting yourself on your heels to engage your hamstrings as well.
Squeeze your glutes to press your hips up and towards the ceiling. Pause for a second at the top and return to your starting position. Repeat.
3) Marching Glute Bridges
When cycling, it’s important to remember, we’re using one leg at a time, and depending on that independent leg strength - which requires both legs to be both strong and balanced. Marching glute bridges are focused on this single leg strength in the glutes and hamstrings.

How to: Squeeze your glutes to press up into a glute bridge; this is your starting position. Hold strong and steady here and keep your hips square. Now, lift your right leg off the ground, focusing on controlling your movement. Slowly lower your right leg back to the ground, and switch sides. Repeat.
4) Low Lunge Stretch
Last but not least, our low lunge stretch. In our low lunge position, we’re stretching out our hip flexors, the very top of our quads. As cyclists, the quads are often overactive, so this stretch is designed to relieve any tightness and increase mobility.

How to: Come into a low lunge position with your back knee on the ground. Engage the glute of your back leg to drive your hips forward, stretching out the front of that same leg, the hip flexor. Hold this position for a few breaths, release, and drive hips forward again, attempting to deepen your stretch. Don’t forget to stretch out both sides.
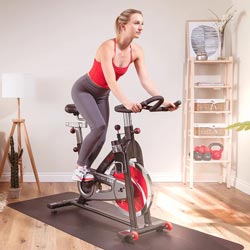
Proper Form for Different Climbing Positions
Did you know there are several climbing positions you can take during your workout? While you may hear instructors call out a variety of positions throughout a cycling class, it’s up to you to determine where you feel comfortable, how to push yourself, and what your limits are during a workout.
At the same time, don’t let your preset boundaries hold you back. As you continue in your cycling journey, you’ll get stronger. If you weren’t ready for a certain climbing position before, it doesn’t mean you’ll never be ready. Continue to push your boundaries and challenge yourself, and don’t find yourself surprised when you succeed!
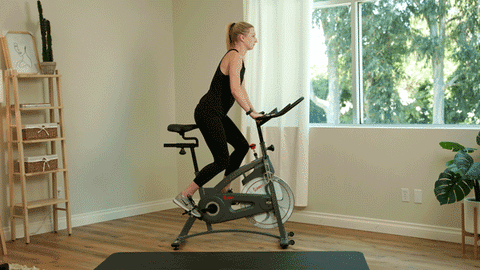
1) Seated Climb
You may not have known you can climb on your bike while seated. Well, I’m here to tell you that you can! This is a great position to add to your workout, and it can help build a great deal of strength for working at higher resistances.
This climbing position is a great one to get familiar with as a new cyclist. If you find standing climbs too challenging, substitute with a seated climb.
With a seated climb, you don’t have to get out of your seat. Your legs will remain challenged at a high resistance to match a standing climb, helping you gain strength to prepare for standing positions and to improve all other aspects of your ride.
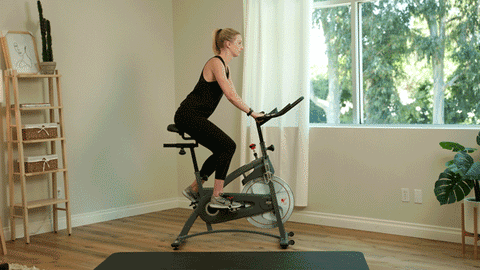
How to: Remain seated, practicing proper form, core engaged, posture upright, hands light on the handlebars in position 2 (overhand grip) or 2.5 (pulse grips). Increase your resistance until it feels heavy. Push those legs, and it won’t feel easy; no climb is meant to. You’ll know you’re at the right resistance to challenge you when you are able to maintain a cadence of 60-80 RPM.
2) Standing Flat
A standing flat is most similar to a seated flat. Unlike seated or standing climbs, your resistance remains light to moderate, while your cadence remains high on average 80-100 RPM. However, similar to standing climbs, you’re off the saddle.
Standing flats are more similar to a run than a climb because the resistance remains low; it doesn’t mimic the feeling of climbing a hill. Although, this position is yet another great way to get used to standing and getting out of the saddle without the difficulty of the resistance.
How to: Stand out of your seat, practicing proper form, core engaged, posture upright, hands light on the handlebars in position 2 (overhand grip) or 2.5 (pulse grips).
Keep resistance light to moderate but increase if needed to feel in control. Pick up the cadence, just as you would during a seated flat, to approximately 80-100 RPM.
3) Standing Climb
Standing climbs are the bread and the butter of high-intensity, heart-pumping work on the bike. That’s right, with a standing climb, you can expect your heart rate to increase and your muscles to be challenged.
While standing out of the saddle may be tough, as you get further along into your cycling journey, you’ll realize it’s a great opportunity to give your seat a rest. That’s right, lots of time in the seat leads to a sore bum, and climbs out of the saddle are sweet relief from long bouts of seated work.
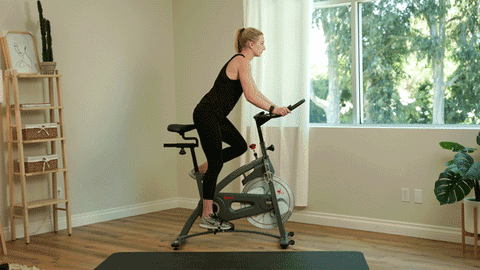
How to: Stand out of your seat, practicing proper form, core engaged, posture upright, hands light on the handlebars in position 3 (extended grip). Crank up resistance until it’s nice and heavy.
A standing climb will not feel easy; think of this as the time in your workout to push yourself, see what your body can do. Just do your best. Trust me; you got this!
You’ll know you’re at the right resistance to challenge you when you are able to maintain a cadence of 60-80 RPM. Any less than 60 RPM and your cadence is too high, and you may struggle to maintain proper positioning and increase the potential for overstraining yourself.
Keep your resistance in check with your cadence, and you got this!
Climbing Practice Workout
Practice makes perfect. Hit the ground running with this cycling workout designed to take you back to the basics of climbing and practice your form. Wherever you’re at, give this workout a spin. Just try your best!
If you’re a beginner or in any way struggling with climbs, I recommend coming back to this ride once or once every other week to practice. The more you practice, the better you’ll get. Use this workout as a tool for practicing and testing yourself on your skills time and time again. You’ll be rocking your climbs in no time!


1 comment
🙏🏻❤️ Your generous with your amazing tips for maximum perfection in spin biking 🚴♀️. Any tips for recumbent bikers?
Bless you. Great 👍 days ahead